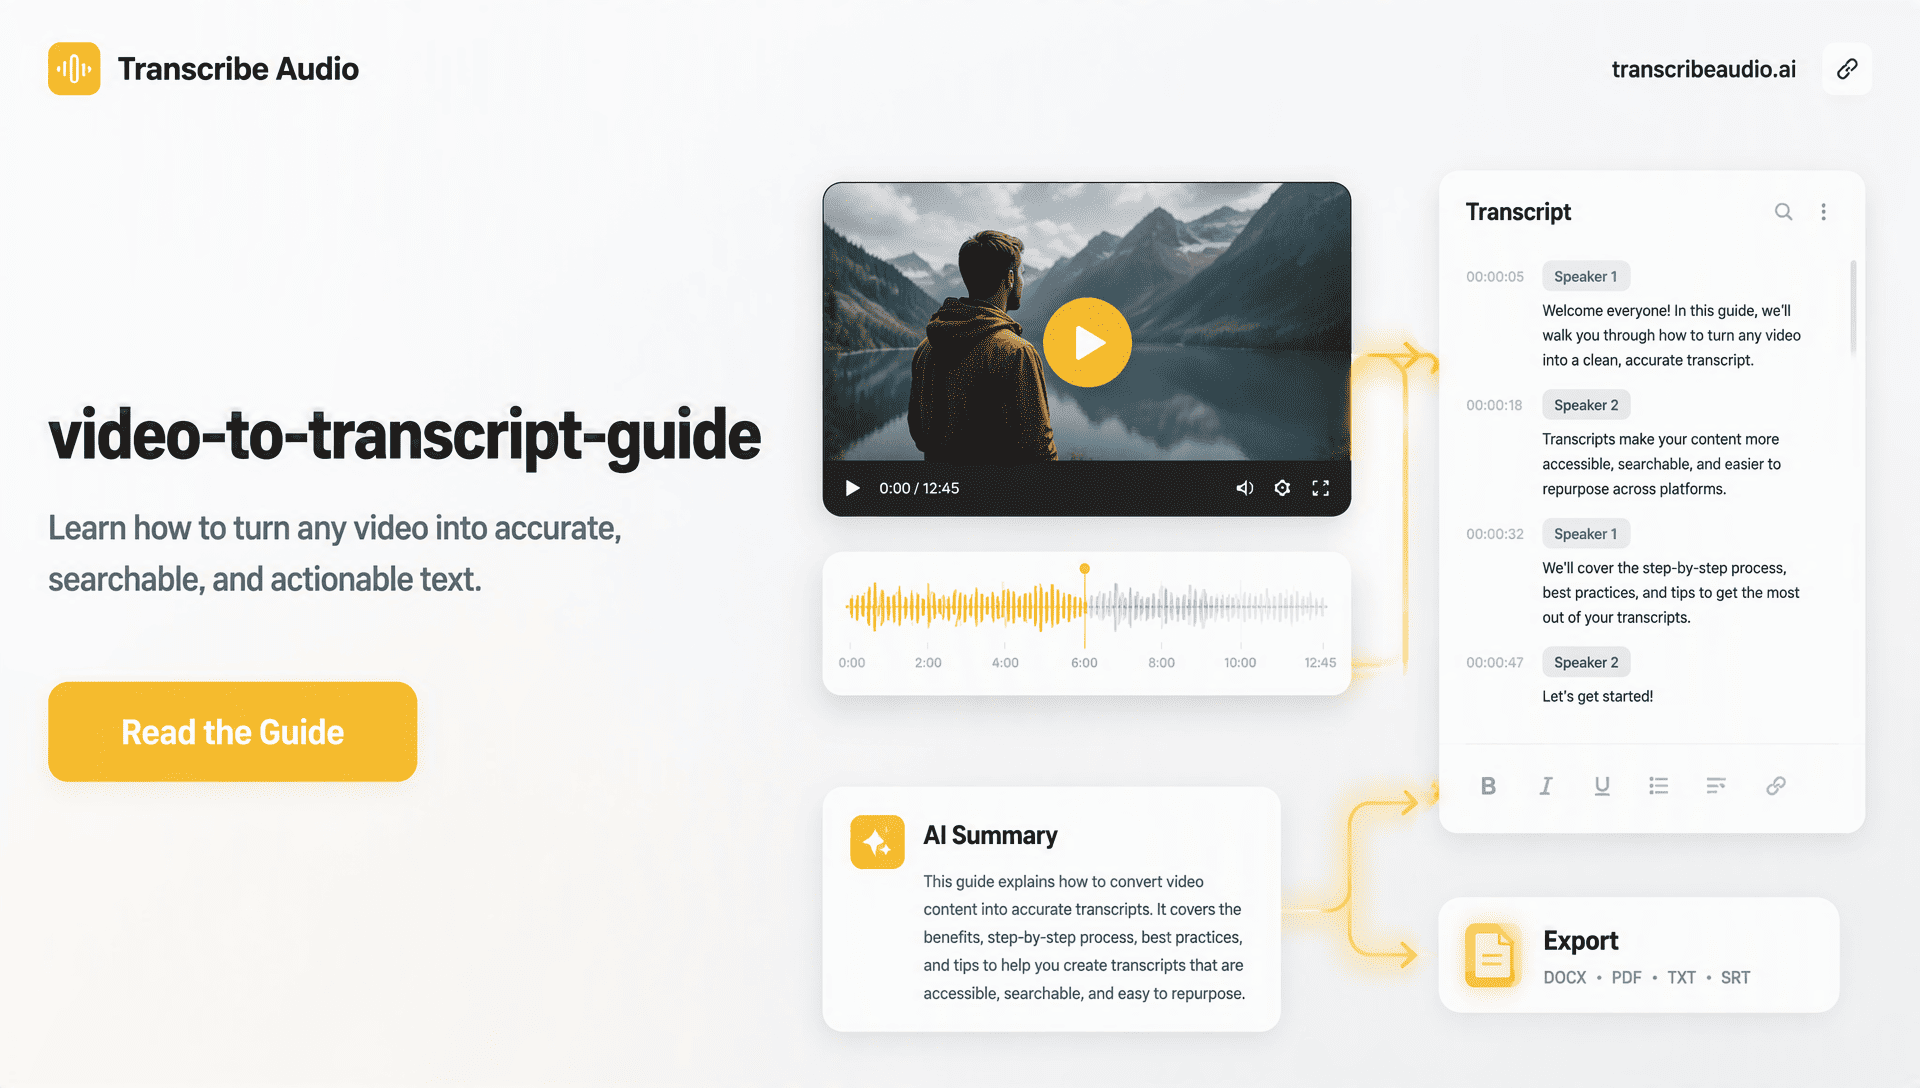
A one-hour interview may contain only a few minutes you need for an article, meeting note, or research report. Finding those moments by dragging through a video timeline is slow. A transcript gives you a searchable version of the recording, so you can locate a name, copy a quote, review a decision, or turn the material into another format without watching the whole video again.
This guide explains how to turn video into text from an uploaded file or a YouTube link. It also covers the choices that affect transcription accuracy, the parts of an AI transcript that still need human review, and the best export format for subtitles, notes, and content reuse.
What a Video Transcript Includes
A useful video transcript records the spoken words and preserves enough context to show who spoke, when they spoke, and where the passage appears in the original recording.
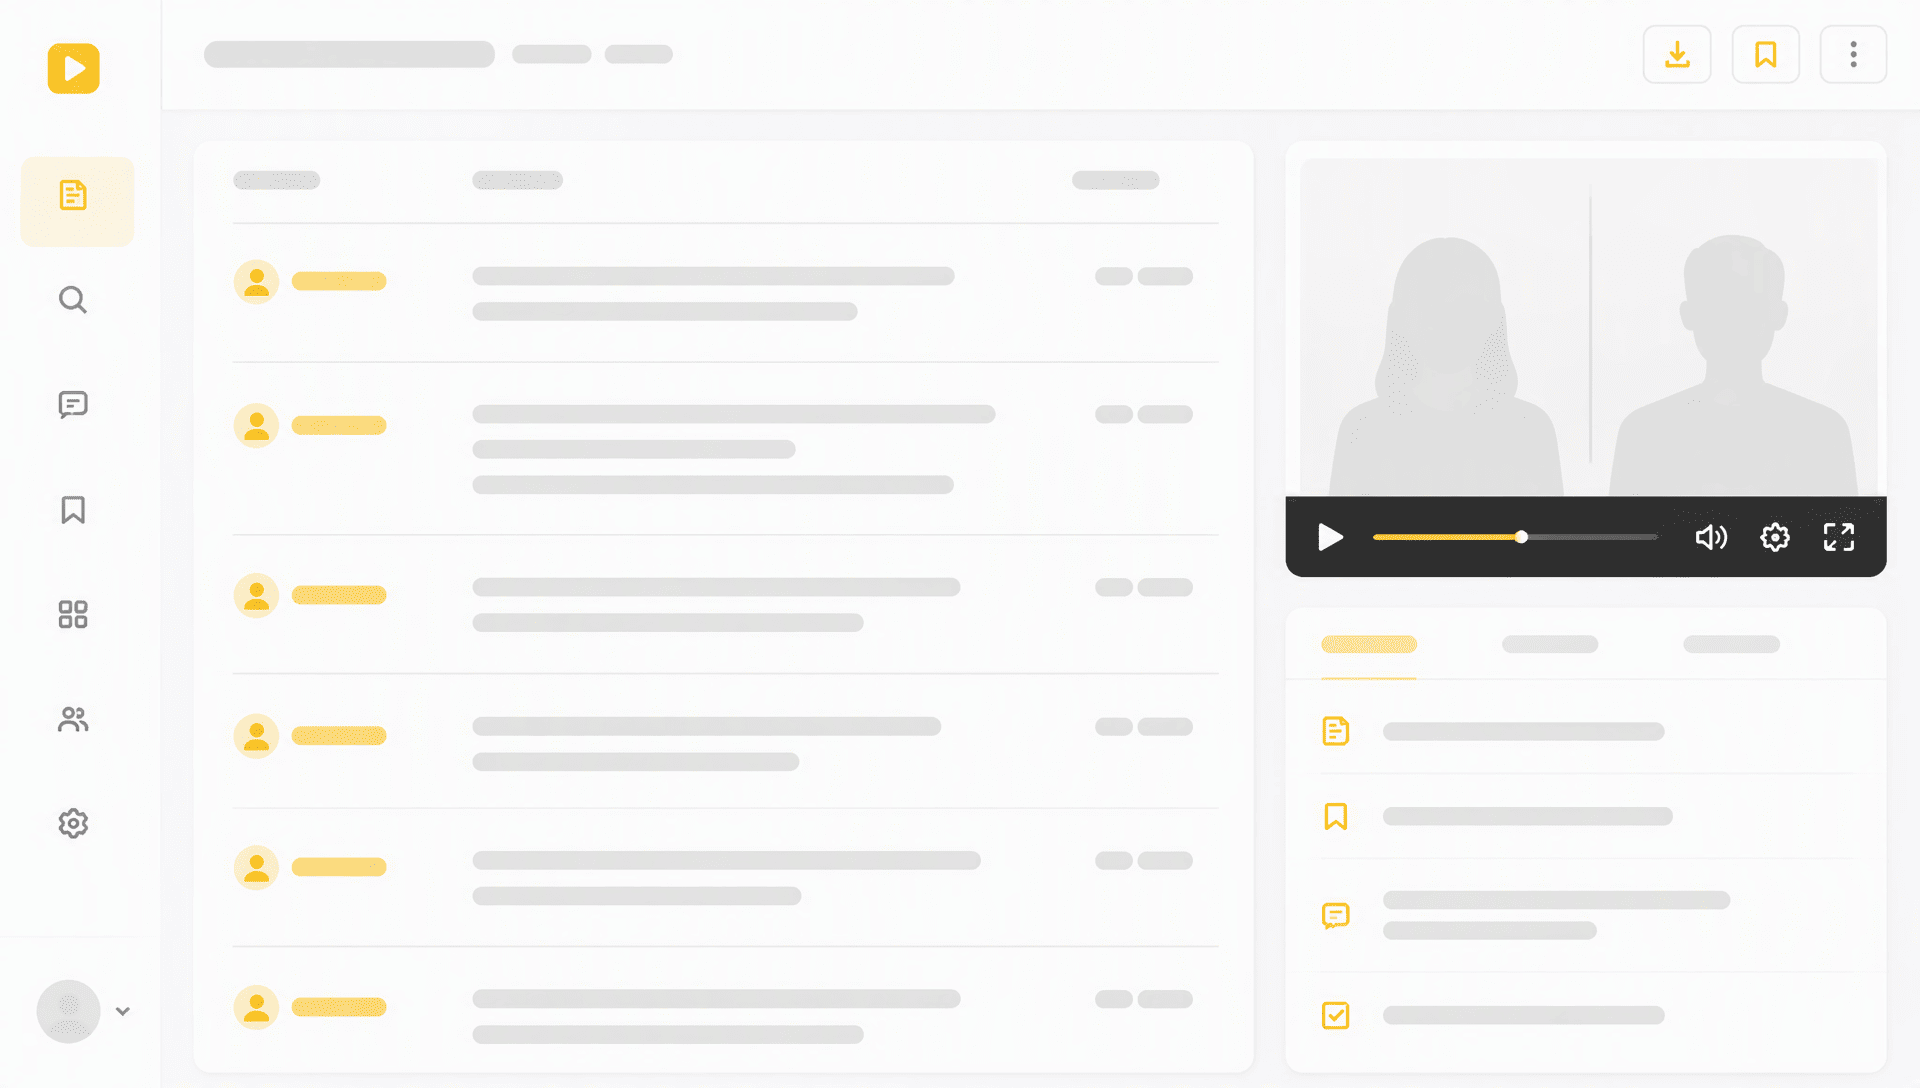
Depending on the settings you choose, a video transcription tool can include:
- The spoken words, arranged in readable paragraphs or short segments.
- Timestamps that connect each segment to a point in the video.
- Speaker labels that separate an interviewer, guest, host, or meeting participant.
The transcript can then be searched and edited like a document. This is the main difference between video to text conversion and simply listening at a faster playback speed: the recording becomes information you can scan, quote, organize, and export.
Decide What You Need Before Transcribing
The correct setup depends on what you plan to do with the text. A rough transcript for personal notes needs less preparation than subtitles for publication or quotations for a research paper.
Choose Between a Verbatim and a Clean Transcript
A verbatim transcript keeps filler words, repeated phrases, false starts, and other details of speech. It is useful for legal review, qualitative research, or any situation where the way something was said matters.
A clean transcript removes obvious verbal clutter while preserving the speaker's meaning. This format is easier to read and usually works better for articles, meeting notes, training material, and study guides. If the transcription tool returns a verbatim first draft, you can clean it during editing.
Identify the Spoken Language
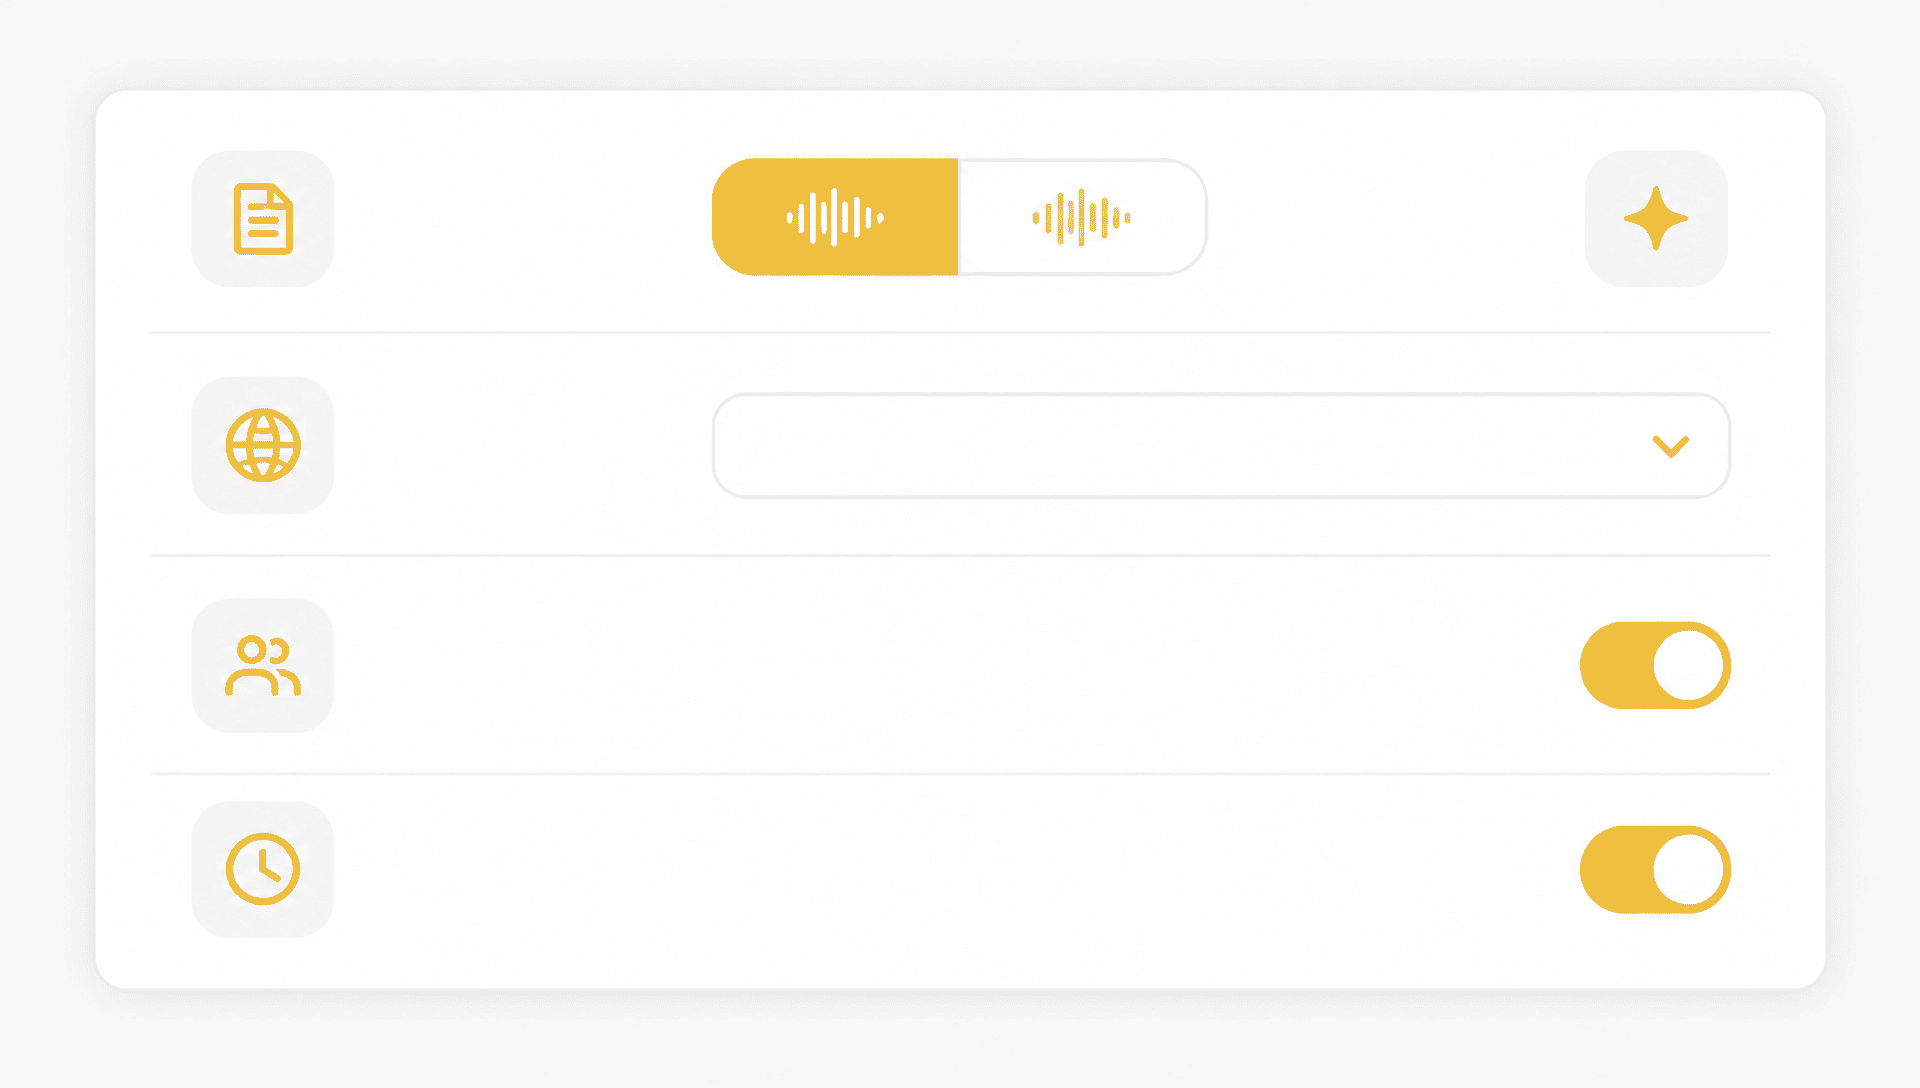
Select the language that is actually spoken in the recording, not the language you want to publish later. Correct source-language detection gives the speech recognition model the right vocabulary and pronunciation rules. Translate the finished transcript afterward if you need another language.
Mixed-language videos need extra care. A speaker may use English for most of an interview but switch to Spanish for a quotation, or use product names that sound like ordinary words. Choose multilingual transcription when it is available, then review each language switch in the editor.
Turn On Speaker Recognition When Voices Change
Speaker recognition separates a conversation into labeled turns such as Speaker 1 and Speaker 2. Enable it for interviews, podcasts, meetings, panels, and classroom discussions. You can replace generic labels with real names after the transcript is generated.
Speaker labels are less reliable when people interrupt one another or share a distant microphone. They still provide a useful first pass, but overlapping sections should be checked against the video before publication.
Keep Timestamps If You Will Verify or Reuse the Text
Timestamps make the transcript traceable. Click a timestamp to replay an unclear word, confirm a quotation, or find the correct edit point in the video. They also make downloaded transcript text easier to verify against the source.
Ways to Convert Video to Text
Choose a method based on the recording, the accuracy you need, and the time available for review.
Use an AI Video Transcription Tool
An online AI transcription tool accepts a video file or supported link and generates searchable text within minutes. This is the practical choice for interviews, lectures, podcasts, webinars, meetings, and content production. It is fast enough for regular use and usually includes timestamps, speaker detection, translation, or export options.
AI output is a draft. Clear recordings may need only small corrections, while noisy audio and specialized terminology require a closer review.
Export Existing Platform Captions
YouTube and some other video platforms create automatic captions. If you own the video or have access to its caption track, you may be able to download the available text directly.
This method is convenient when captions already exist, but the result may have poor punctuation, missing speaker labels, or line breaks designed for a video player rather than a document. Availability also depends on the video's permissions and the platform.
Transcribe Manually or Hire a Human Transcriptionist
Manual transcription takes the longest but gives the reviewer direct control over every word. Human transcription is worth considering when an error could affect a legal record, medical document, published quotation, or other high-stakes material.
A common compromise is to generate the first draft with AI and ask a person familiar with the subject to verify it. This is usually faster than typing the entire recording and more dependable than publishing raw automatic captions.
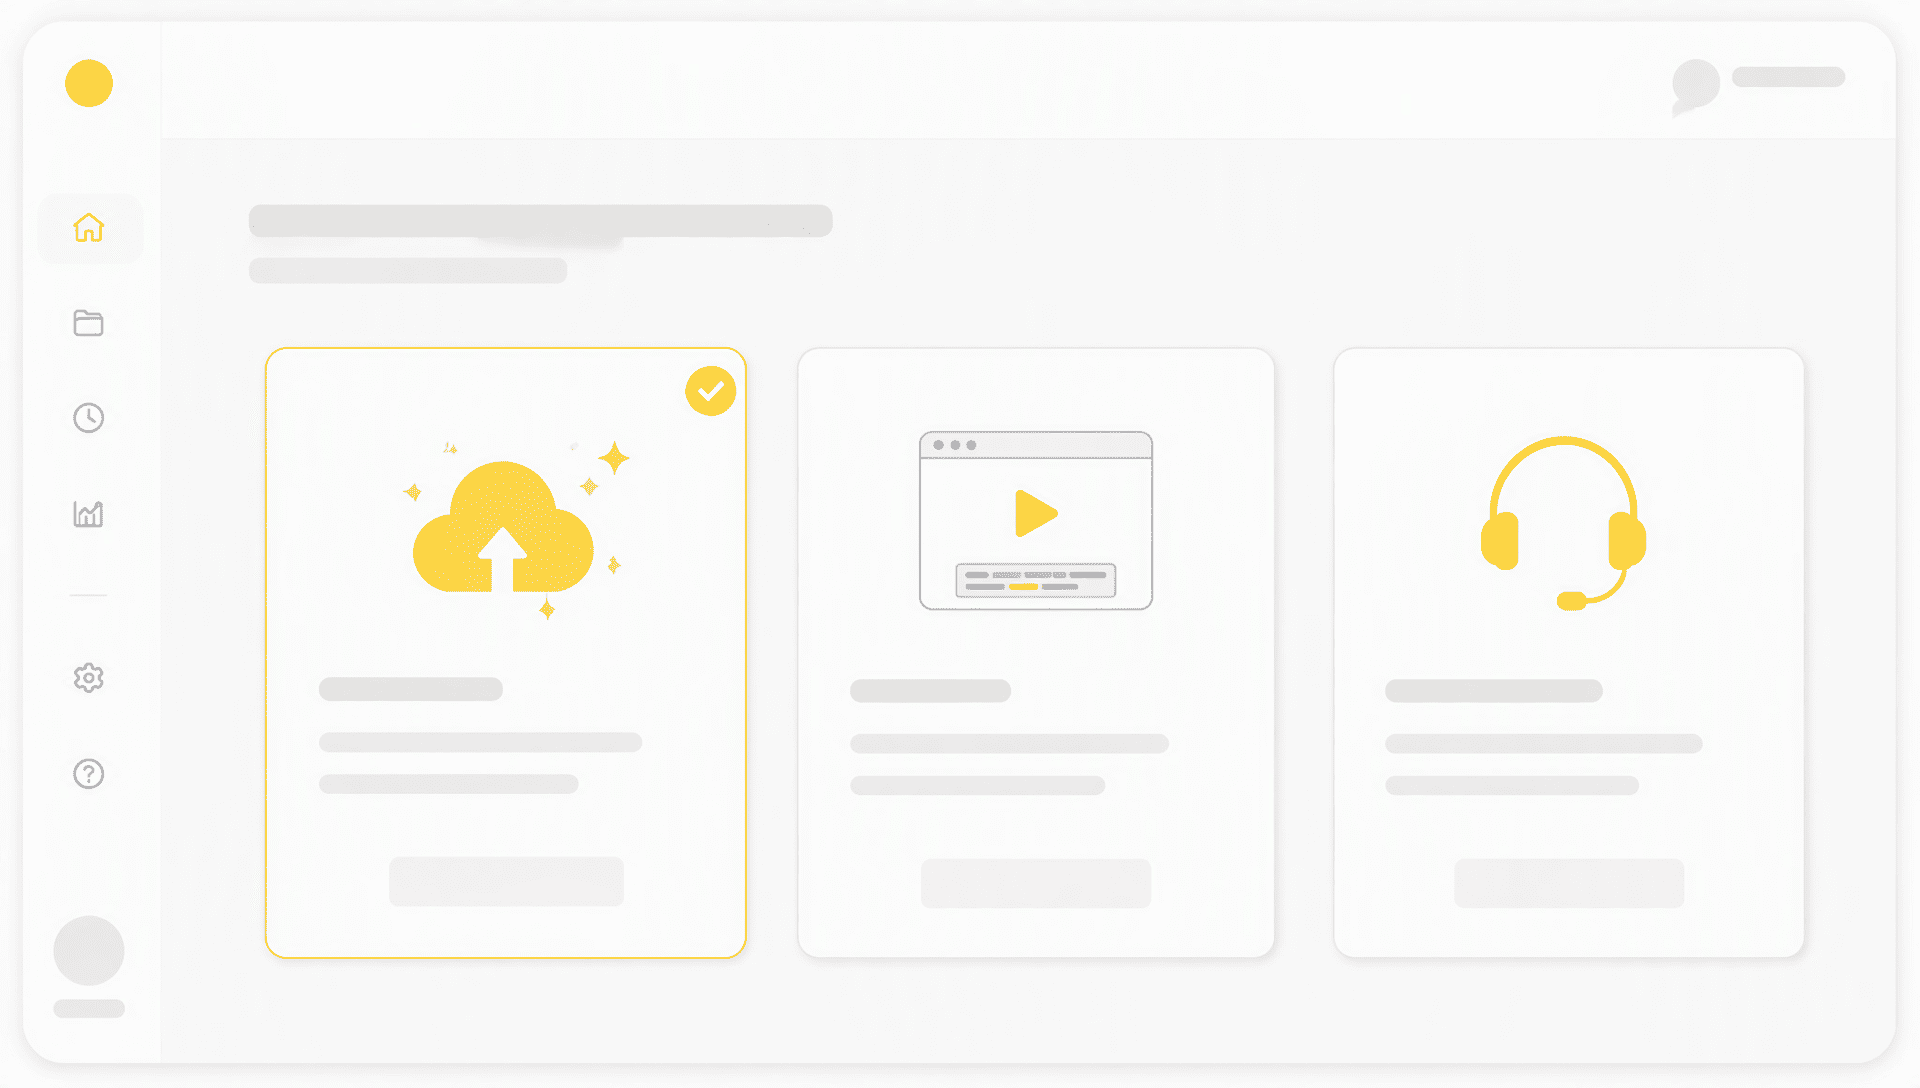
How to Transcribe a Video With Transcribe Audio
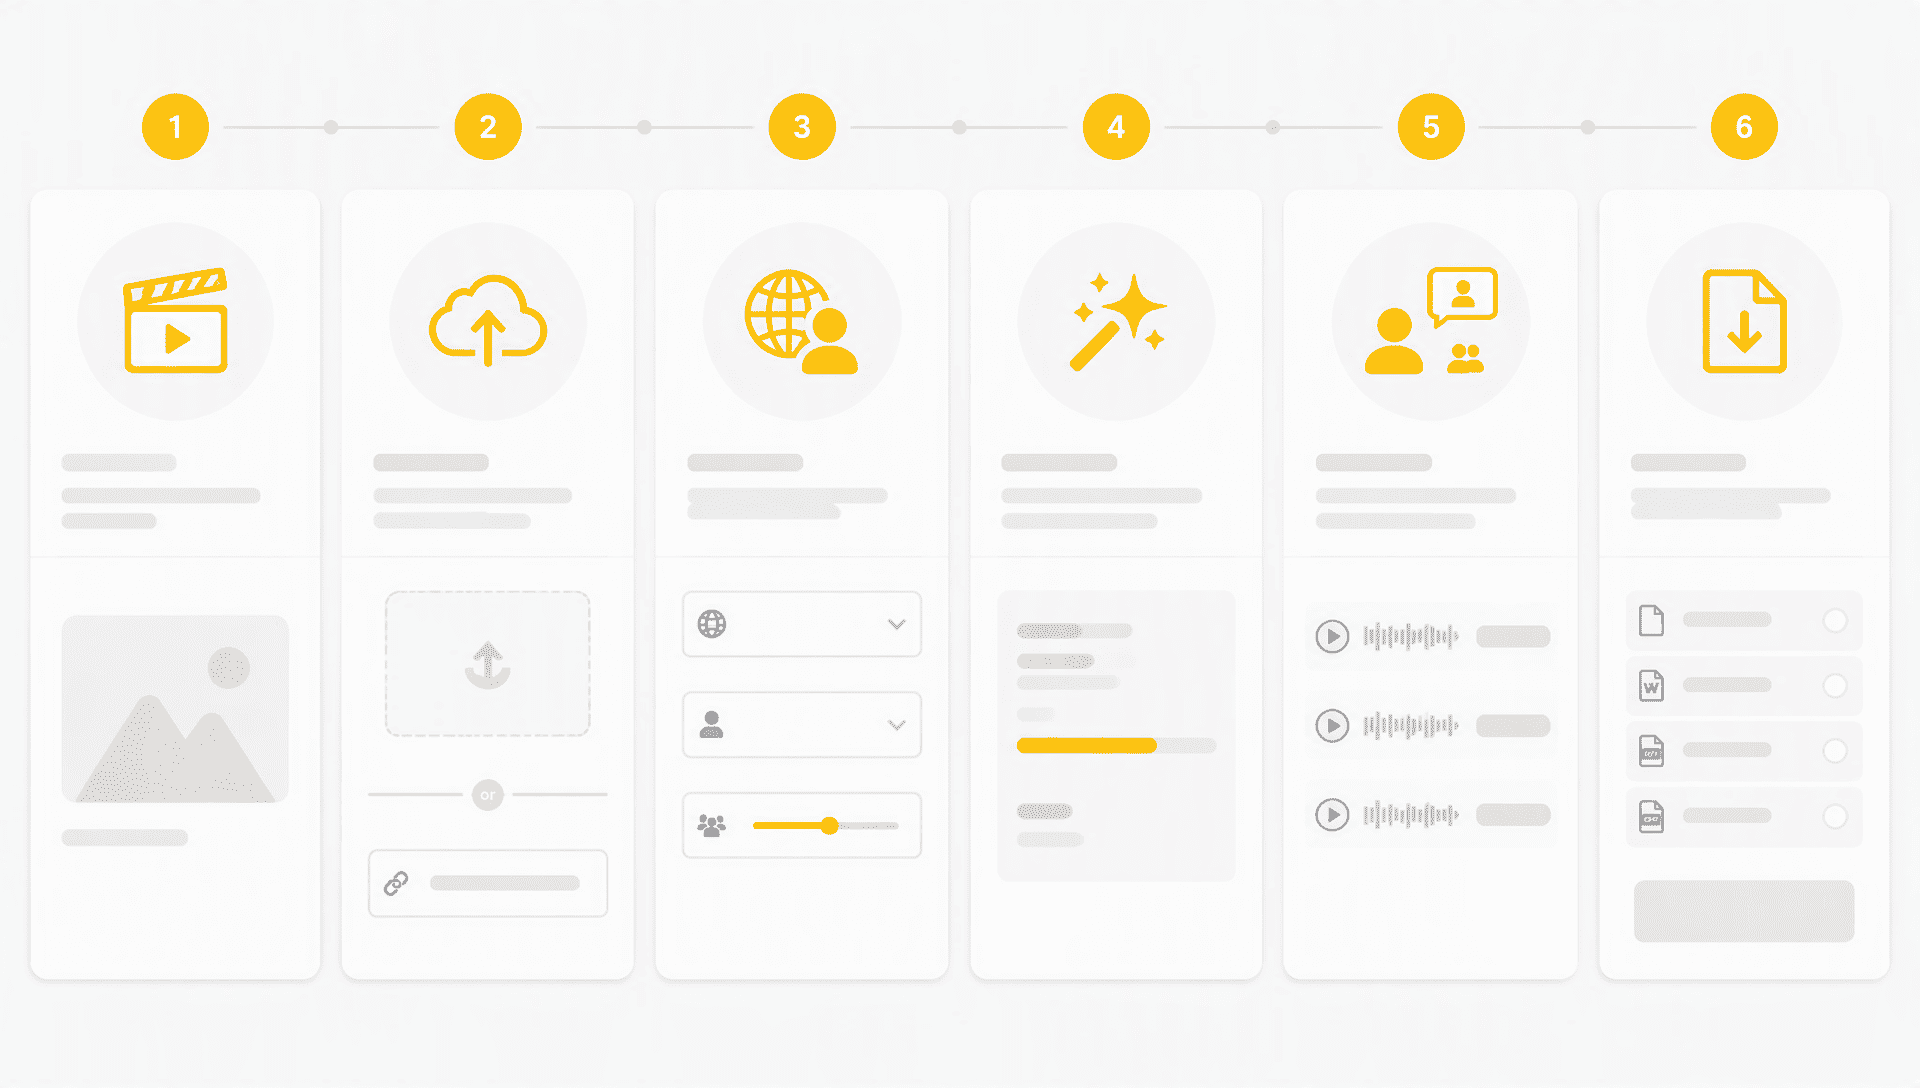
To transcribe a video with Transcribe Audio, prepare the source first and finish by exporting a reviewed copy. The steps below cover the full process.
1. Prepare the Video or Link
Use the clearest version of the recording you have. Heavy compression, loud music, room echo, and voices recorded far from the microphone all make speech harder to recognize. If the video has a long silent opening or unrelated footage, trimming it first can reduce processing time and keep the transcript focused.
For an online video, make sure the link is public and still available. Private, expired, age-restricted, or region-restricted links may prevent an import even when the video plays in your own signed-in browser.
2. Upload a File or Paste a Video Link
Upload the video from your device. For supported online sources, paste the video URL instead. The page accepts common use cases such as uploaded recordings and YouTube video transcription without requiring you to extract the audio first.
Wait until the upload or link validation finishes before leaving the page. A large local file may take time to transfer even though the later transcription step is automatic.
3. Select Language and Speaker Settings
Choose the spoken language and enable speaker recognition if the recording contains a conversation. Use multilingual mode for genuine language switching rather than selecting a second language only because you want a translated output.
Think about the final format at this stage. Keep timestamps for subtitles, quotations, editing, or fact-checking. If you only need a short summary for yourself, detailed timecodes may be less important.
4. Generate the Transcript
Start the transcription job and let the system process the recording. It extracts the speech and divides the result into timestamped text segments. You do not need to keep replaying the video while the transcript is generated.
Processing time varies with the length and quality of the source. When it finishes, search for a phrase you remember from the video. This quick check confirms that the text is loaded and gives you an immediate sense of the recording's overall accuracy.
5. Review Names, Numbers, and Technical Terms
Begin with details that speech recognition systems commonly mishear: people's names, company names, abbreviations, dates, prices, measurements, and specialist vocabulary. Search for repeated names so you can correct every occurrence consistently.
Next, check sections with background noise, music, low volume, strong accents, or overlapping voices. Use the timestamp beside a doubtful passage to compare the text with the original video. If the transcript will be quoted publicly, replay the complete sentence rather than correcting a single word without context.
6. Export the Right Format
Choose the export based on what happens next:
- Download the transcript as TXT for plain text, quick copying, editing, or importing into another writing tool.
- Export the mind map in a supported format when you need a visual or structured version of the content.
- Keep the timestamped transcript when editors, researchers, or teammates must return to the source recording.
Do not remove the original video after exporting if the transcript contains quotations or decisions that may need verification later.
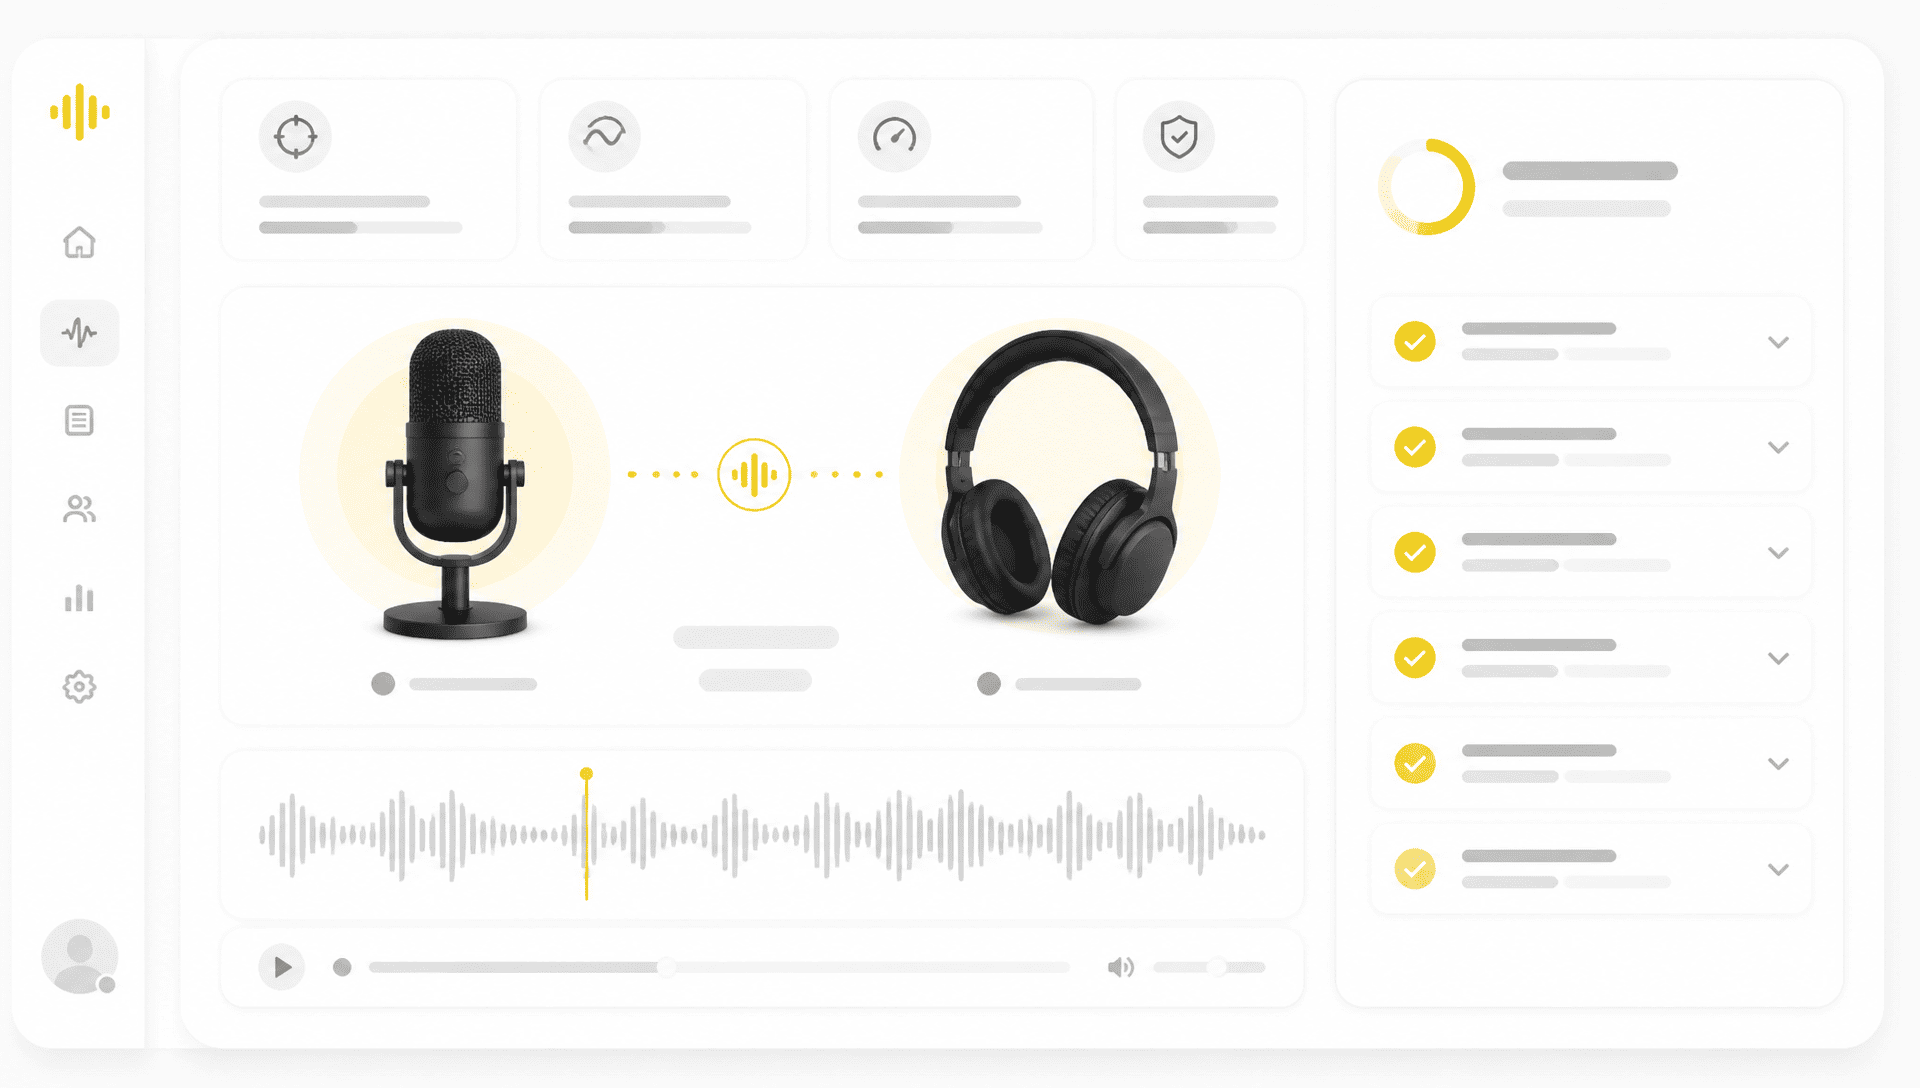
How to Improve Video Transcription Accuracy
Accuracy begins with the recording. Editing can fix a misunderstood word, but it cannot fully recover speech hidden under music or several people talking at once.
Improve the Source Audio
Place microphones close to the speakers, reduce room echo, and avoid background music under dialogue. In remote meetings, ask each participant to use their own headset instead of sharing a room microphone. Stable volume and clear turn-taking often improve the transcript more than changing tools.
If you cannot record the video again, basic audio cleanup may help. Reducing constant background noise or raising a very quiet voice can make difficult sections easier to process. Avoid aggressive filters that distort consonants, because they can create new transcription errors.
Create a Short Review Checklist
Review the transcript in a consistent order:
- Confirm the title, date, participant names, and source language.
- Search for proper nouns, abbreviations, numbers, and repeated technical terms.
- Check every speaker change around interruptions or overlapping speech.
- Replay quotations, decisions, and instructions that other people will rely on.
- Read the exported file once to catch broken paragraphs or missing subtitle lines.
This targeted review is faster than replaying the entire recording from the beginning, while still focusing attention on the errors that matter.
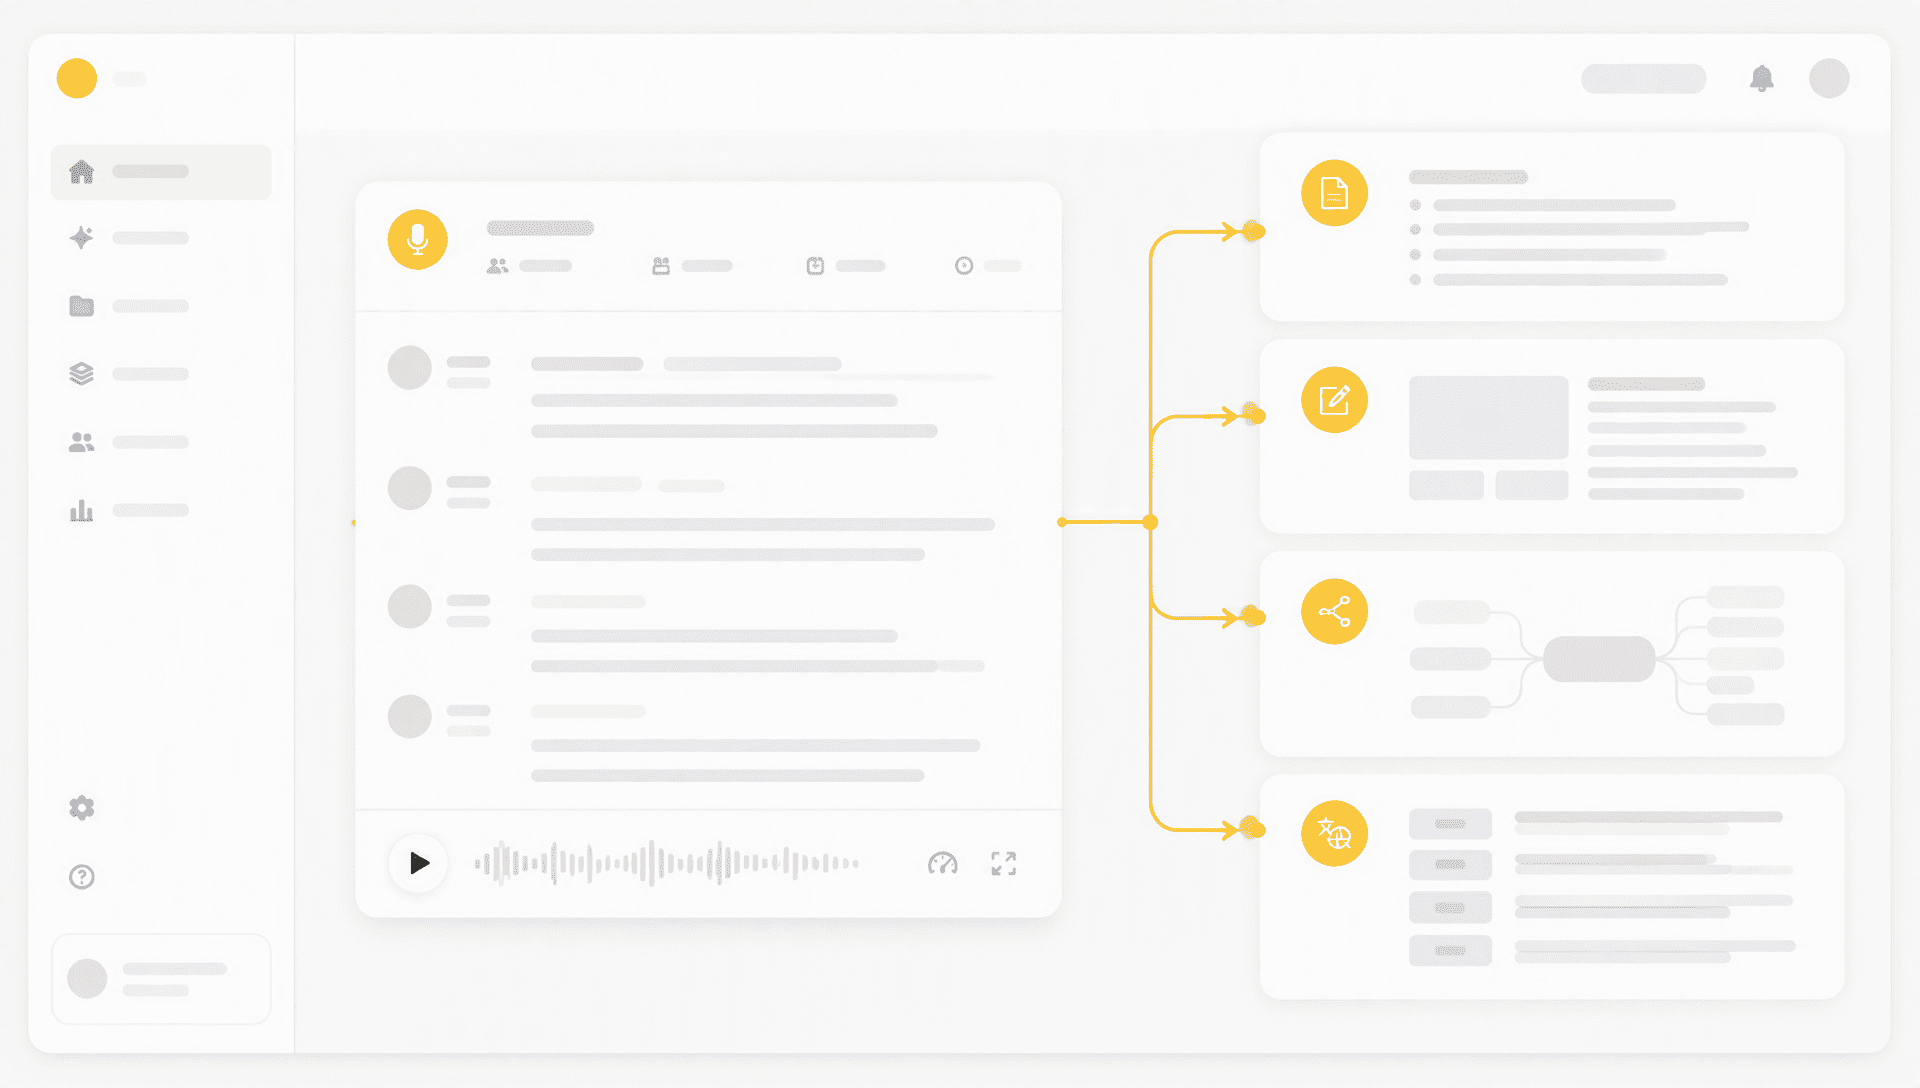
Turn the Transcript Into Useful Content
After review, the same text can become subtitles, notes, an article draft, or a study aid. Choose the next step based on why the video was recorded.
Summaries and Meeting Notes
A summary condenses a long recording into its main topics, decisions, and open questions. For a meeting, separate confirmed decisions from proposed ideas and list each action item with an owner when the transcript provides one. Keep timestamps beside important decisions so teammates can check the discussion in context.
Articles, Show Notes, and Social Posts
Creators can turn a video transcript into an article outline, podcast show notes, newsletter copy, or short social posts. Do not publish the raw transcript as an article without editing it. Spoken explanations repeat themselves and rely on visual context, while written content needs clearer headings, shorter paragraphs, and explicit transitions.
Use the speaker's actual examples and wording where they add value. Remove greetings, production chatter, and repeated points that only made sense in the original recording.
Study Notes and Mind Maps
Students can search a lecture transcript for a concept, then collect the relevant passages into notes. A mind map is useful when the recording explains a process or connects several topics. Build it from the transcript's main claims and supporting details, not from every sentence.
Translation and Multilingual Subtitles
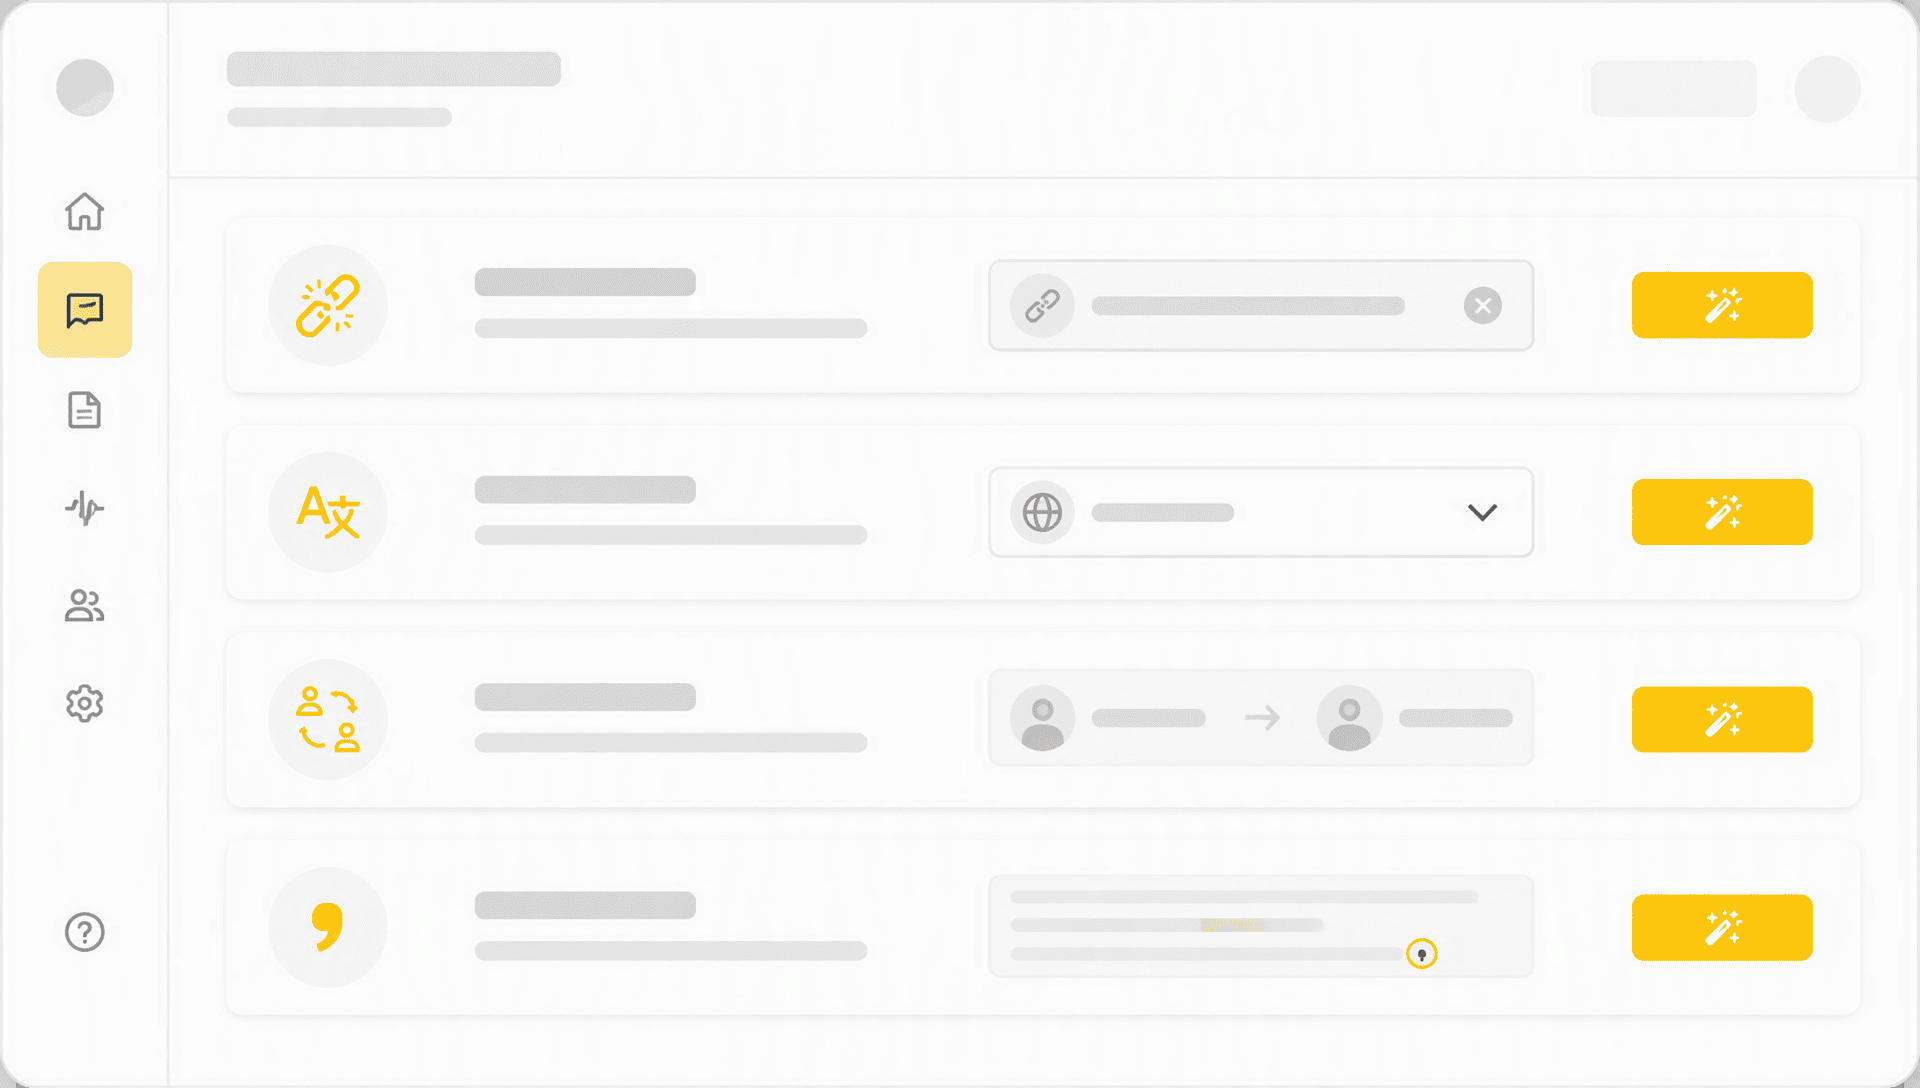
Translate the reviewed transcript rather than the uncorrected AI draft. Names and technical terms that are wrong in the source will otherwise spread into every translated version. After translation, check subtitle length and timing because a sentence may take more space in one language than another.
Privacy and File Handling
Video recordings can contain faces, voices, personal information, internal discussions, or unreleased work. Before uploading confidential material, read the transcription provider's privacy and retention policies. Check how long files remain stored, whether you can delete them, and who can access shared transcript links.
Workplace meetings, customer interviews, medical conversations, and research recordings may also be subject to consent or data-handling rules. Permission to attend a call does not always mean permission to upload or publish it. Remove sensitive sections when they are not needed for the transcription task.
Common Problems and Their Fixes
The Video Link Cannot Be Imported
Confirm that the URL opens without a private account session. If the source is private or restricted, download a copy you are allowed to use and upload the file directly. Also check that you pasted the video URL rather than a channel, playlist, or search page.
The Transcript Uses the Wrong Language
Run the job again with the spoken language selected manually. For mixed speech, use multilingual transcription if the tool supports it. Translation should happen after transcription, not as a substitute for correct source-language recognition.
Speaker Labels Keep Changing
Rename speakers after listening to their first clear turn, then check places where they interrupt each other. If several people were captured by one distant microphone, perfect speaker separation may not be possible; mark uncertain sections instead of guessing.
The Text Has No Punctuation or Useful Paragraphs
Automatic captions often use line breaks for on-screen timing, not readability. Merge fragments into complete sentences, add paragraph breaks when the topic changes, and retain timestamps where a reader may need to verify the source.
Recommended Workflow for Different Uses
Interviews and Research
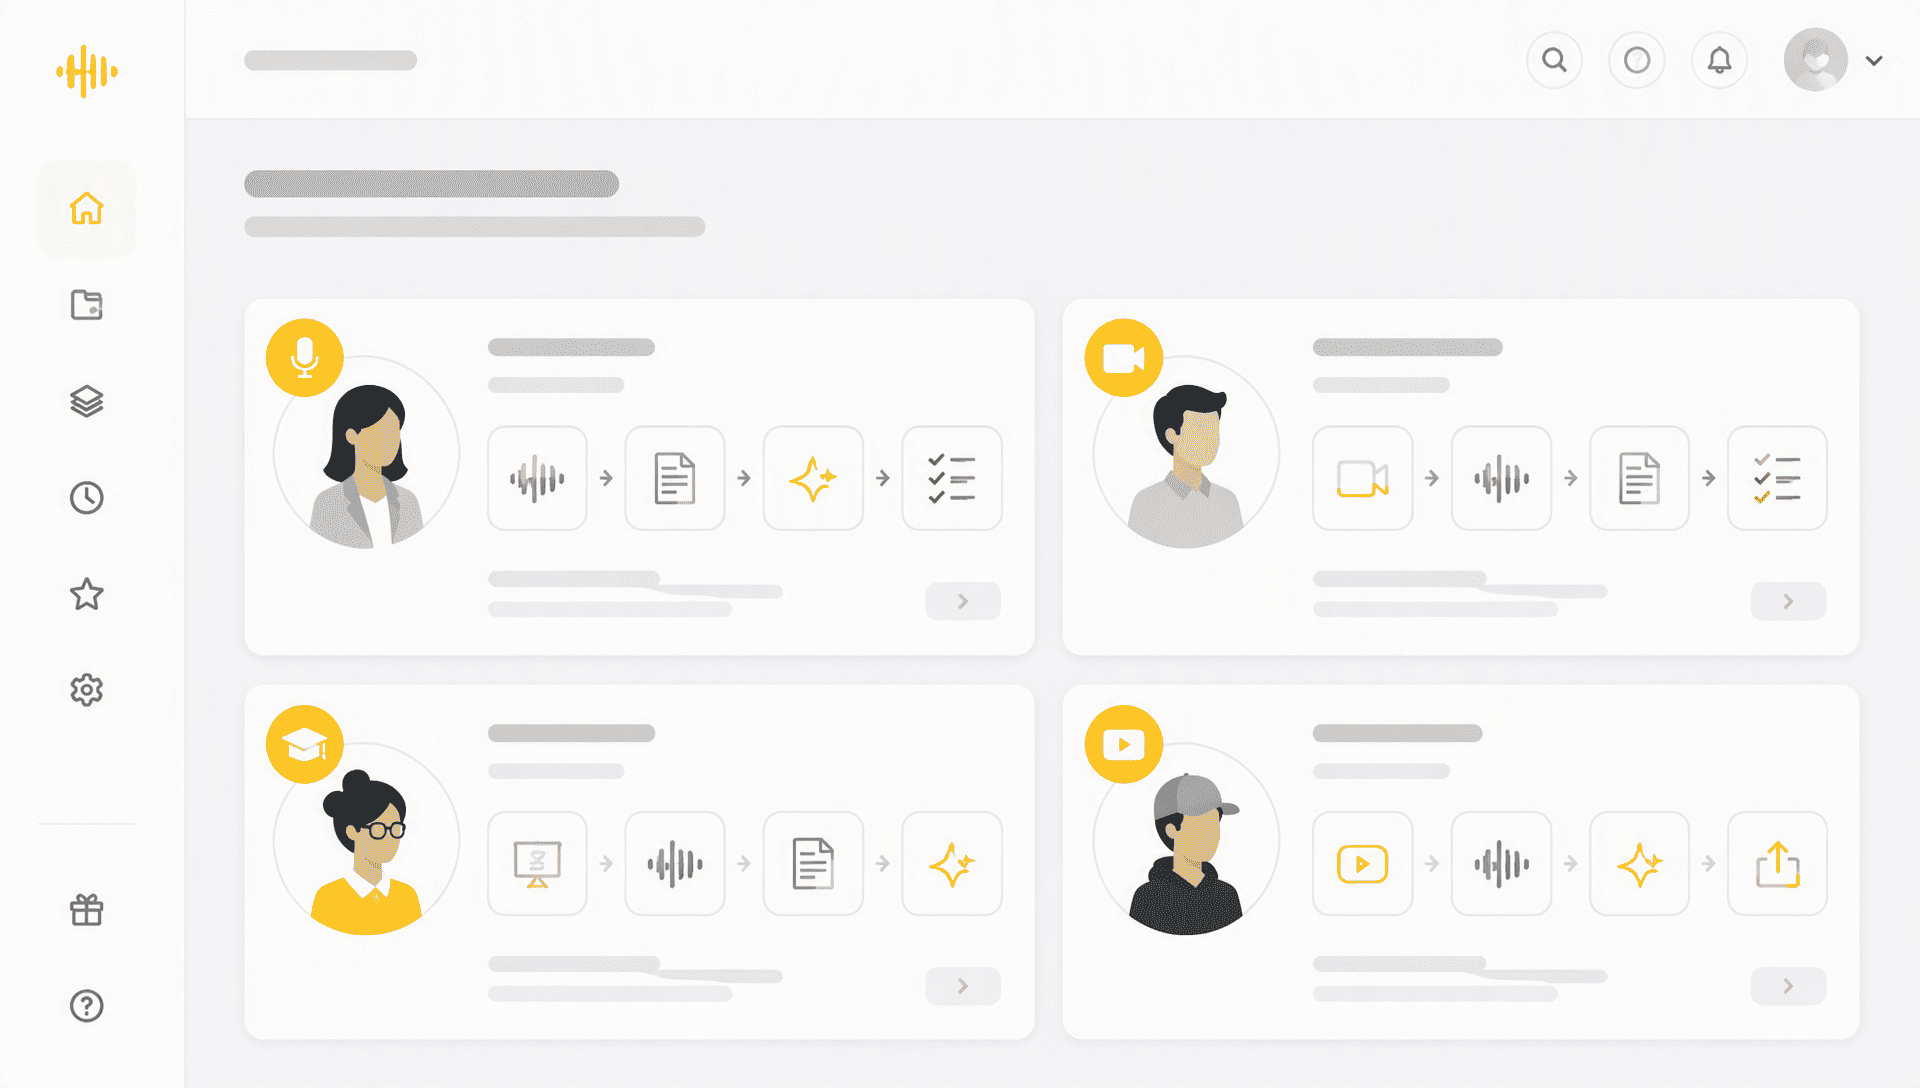
Enable speaker labels and timestamps, verify quotations against the recording, and export a document that keeps source references. For qualitative research, decide in advance whether filler words and pauses must remain in the transcript.
Meetings and Webinars
Focus the review on decisions, names, dates, and action items. Share a concise summary with a link to the full timestamped transcript so readers can inspect the original discussion when needed.
Lectures and Online Learning
Keep timestamps, correct subject-specific terminology, and organize the transcript under the lecture's main topics. Search the text during revision, then create a shorter study guide or mind map from the reviewed material.
YouTube Videos and Creator Content
Use YouTube transcription to create captions, descriptions, show notes, and article drafts from the same recording. Edit each output for its destination instead of copying one version everywhere. Subtitle text should be concise and timed; an article should explain visual references that a reader cannot see.
Final Checklist
Before you treat a video transcript as finished, confirm that:
- The source language and speaker labels are correct.
- Names, numbers, quotations, and technical terms match the recording.
- Important passages still include timestamps for verification.
- The export format fits its destination.
- Sensitive information has been removed or handled with permission.
A reliable video to transcript workflow starts with a clear recording and ends with an export made for a specific use. AI handles the first draft quickly, but names, numbers, quotations, and sensitive details still deserve a careful human check.